


")


My setup involves two 150 watt solar panels, a 12 volt 100 amp battery, a charge controller, and an inverter with some cables. what came with my original setup, and then do what solar panels I then bought a red and black extension cables that come with the MC4 connectors on the end.
Choosing and Preparing the Right Cables
This is six mil squared cable which works out to be around 10 gauge apples. These cables are a bit thicker. I stripped these four gauge wires at one end ready to connect to the charge controller. All we need then is to mount our inverter and plug the wires onto the battery.
Connecting Solar Panels in Parallel
Here you’ll see I used two branch adapters allowing me to connect these solar panels in parallel. This is where you grab both positive cables from your solar panels and plug into the branch adapter and plug your two negative wires together and plug them into the branch connector. So two positives are together and our two negatives were together.
Wiring the Charge Controller and Battery

I’ve screwed on the positive and negative cables that come from my charge controller to our battery. Now we’re connected to a battery, we’ll have a display on the charge controller. This will show us the solar panel on the left-hand side battery in the middle.
Adding Additional Components for Flexibility

I haven’t, but if you wanted to, you could add some 12-volt light in on the right-hand side or 12-volt socket which you could cable directly onto the PWT charge controller. But we’ll be looking to add on an inverter connected to our battery so we can use normal free pin plug sockets as well as USB ports.
Testing and Initial Setup of the Inverter

Cables that come with the inverter have these crocodile clips that come with it for a more permanent base. I didn’t want to keep these crocodile clips on the battery, but I’m just plugging them on now just to test it out make sure it works. But then I’ll look to connect some thicker wires onto the battery and add some breakers in as a permanent fix. For now, I use the wires that come with it, and I can see the inverter is working.
Safety Measures and Disconnecting Solar Panels
So, solar panels also received this little booklet which had some good information in which I thought I’d share with you so you can pause and have a little read if you’d like to. Then we’re going to look at adding on some thicker cables going from the inverter to the battery. But first, I disconnect the cables from the solar panels. As it’s daytime, the solar panels will be sending down voltage so by unplugging them, it will then be safe to work on so take as many safety measures as you can.
Adding a 30 Amp Breaker for Safety

Here I show you the positive and negative wire which will connect to the branch adapters which connects the two positive wires together and the two negative wires together. Now I’ve unplugged two solar panels. I disconnect the positive wire and I measure it up to add a 30 amp breaker so if there’s any short circuit or if the wire overheats, if the amperage gets to 30 amps this will then trip the breaker, breaking the circuit and stopping the wire from burning or creating a fire.
Implementing Multiple Breakers for Enhanced Safety
So my whole idea in adding in all these breakers to the positive wires is just to make this setup a safer setup and for whatever reason any of these wires might overheat, the breakers will go off as we look to prevent any fires. There’s many different styles of breakers with different maximum amperage for these 10 gauge wires with the MC4 connectors on the end. These cables have like an external coating around them. When stripping them, I notice it’s like stripping two sets of PVC coatings. Many different setups and do plenty of research before creating your own setup.
Ensuring Proper Cable Length and Core Size
- The length of the cables and the copper core size of each cable can affect the voltage and the amperage.
- Seek further advice when doing this for yourself.
- Now screw this back into the positive side of the PWM charge controller.
- Then I’m going to look to screw the 30 amp breaker to the board to add another 30 amp breaker onto the positive cable going from the battery to the charge controller.
- But first, I disconnect the cable from the battery so the circuit is broken so that I can work on cutting down the positive cable first.
Final Adjustments and Tidying Up

I tidy up the negative cable running it around the back of the board allowing me space to connect the 30 amp breaker for positive wire at the front of the board. I place the breaker on the board and size up where I want it. Then I cut and strip the ends of the cable so I can connect both ends to the breaker. Now simply push in the switch on the breaker which creates the circuit.
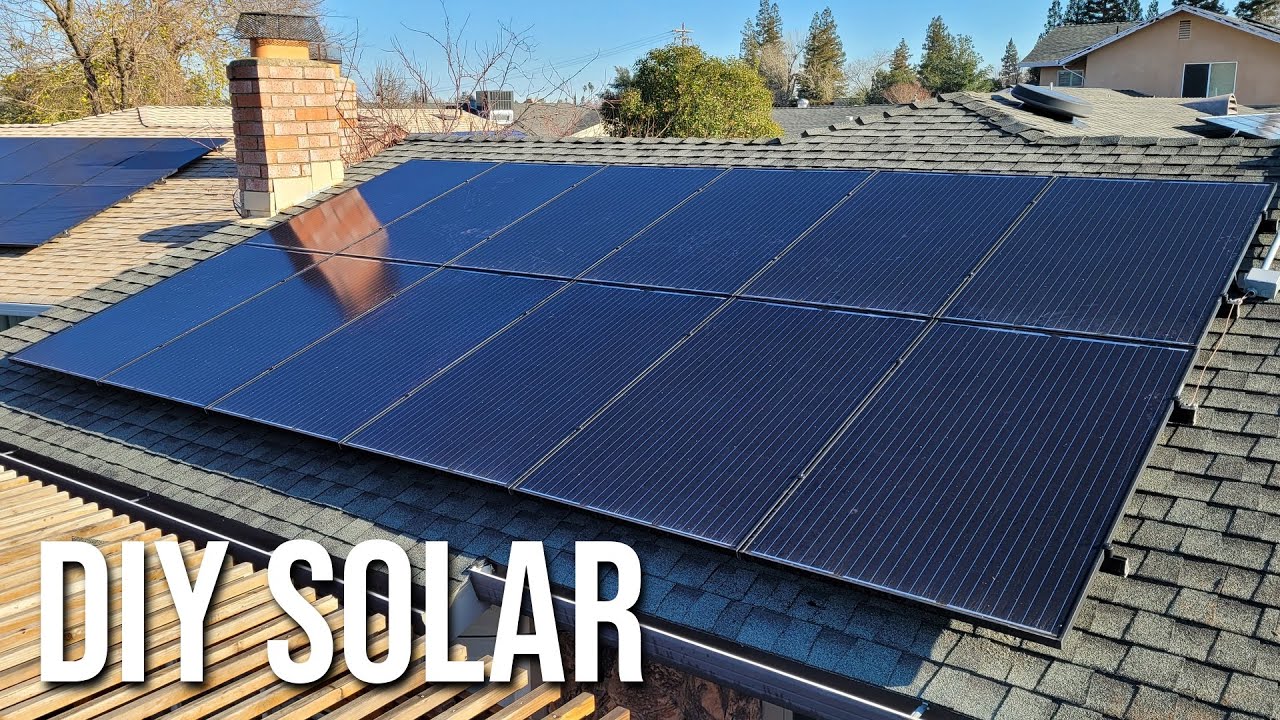
Reconnecting and Mounting Solar Panels
| Step | Details |
|---|---|
| Power Connection | Now you see power from the battery to the charge controller. |
| Reconnecting Cables | Then I’m going to connect my positive and negative cables back into my solar panels and show you how I hang these solar panels on the wall by two bolts either side. |
| Using the Branch Adapter | By using the branch adapter, this allows these cables to stay in a parallel setup which will keep this at 12 volts. |
| Connecting in Series | When connecting these in series, the voltage will then be added together. |
| Parallel vs Series | So in parallel, you add up the amps, and in series, you add up the voltage. |
Understanding Parallel and Series Connections
If you’re looking to learn more on parallel and series, out there explaining the difference of the two depending on what charge controller you have, how many panels you have, how many batteries you have, and what cable you’re using. And I may upgrade to an MPPT charge controller which was priced around 100 pounds when I looked. Here you see as I switch the lever on the breaker, we then have the image of the solar panel.
Final Steps and Completing the Setup
First I remove the crocodile clip cables that come with the inverter. The thread size on the inverter is a six mil thread which when ordering I was able to decide whether I had eight mil, six mil, or six mil one end and eight mil the other. The thread size on the breaker was also six mil, so I was able to select a six mil lug at the end of the cable when ordering. Now I’ll switch all of the breakers creating a circuit for the solar panels, the battery, and the inverter.
Adding Battery Terminal Covers for Safety

Then turning on the inverter switch on the right-hand side, now the setup is all on and good to go. I just want to add on these battery terminal covers to stop anything metal falling on top of these terminals and causing any issues. As there’s two wires connected to the battery, I need to cut these to make them bigger. So here I’ve looked to cut them up to allow me to then cable tie two of the flaps to the two cables securing them into place.
Enjoying the Benefits of Solar Power
Whichever way works best for you on keeping these in position. Then I’ve used plastic cable ties to go around the covers connecting to the cables to try and seal them in position. I like the fact that now I have outside lights that will come on which are completely powered by the solar panels. When sitting or working outside, I can plug in my laptop or charge any 12V devices.